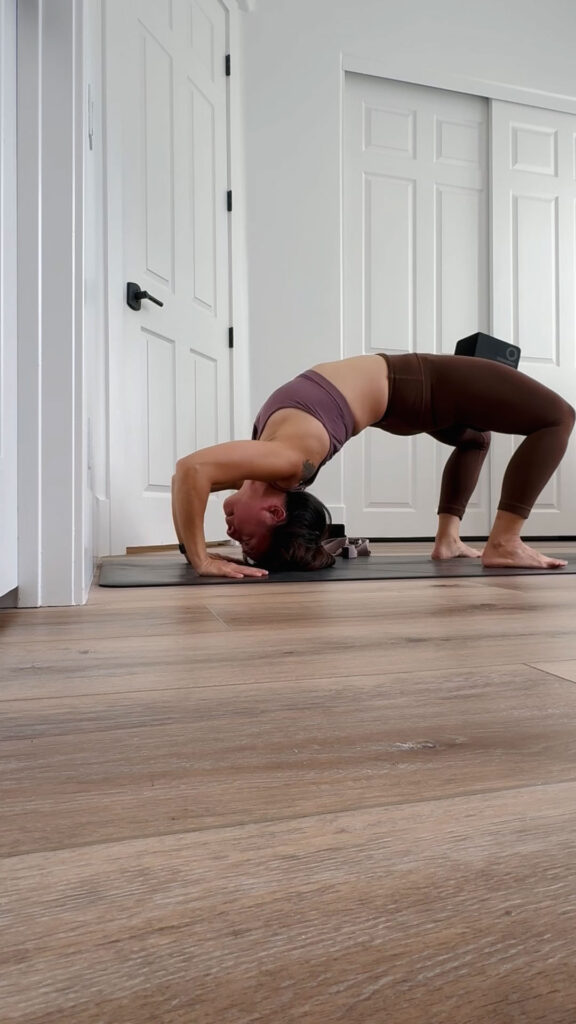
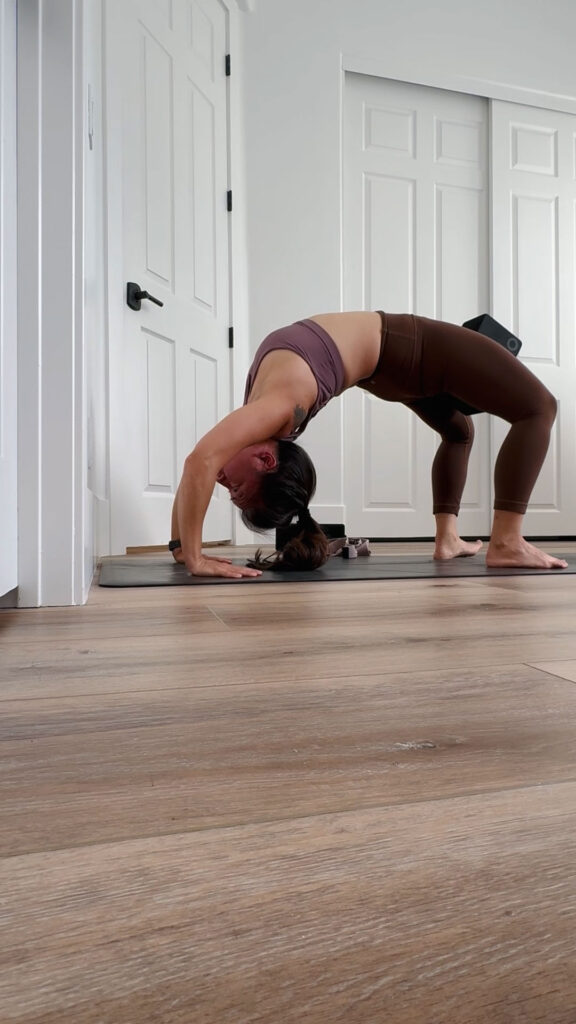
The cover photo is not a before and after. Below are pictures of my wheel pose taken recently. Someone looking at my wheel pose now is probably wondering why I’m sharing this photo—her arms are bent! Yikes! You should have seen my wheel pose in my 20s! My arms were not only bent, but my knees were so far apart. Goodness!
Wheel is one of those asanas that look beautiful in images–the curve of the upper back, the arc of the chest. There’s a saying: you are only as young as your spine is flexible. Well then, wheel pose is the poster child for youth. Most children can do wheel without overthinking it. But as we get older, some of us lose the flexibility and openness. I’m one of those who have lost it.
There’s plenty of advice out there on how to hack your wheel pose. I find that there’s no hack or special trick for this pose. Here’s why.
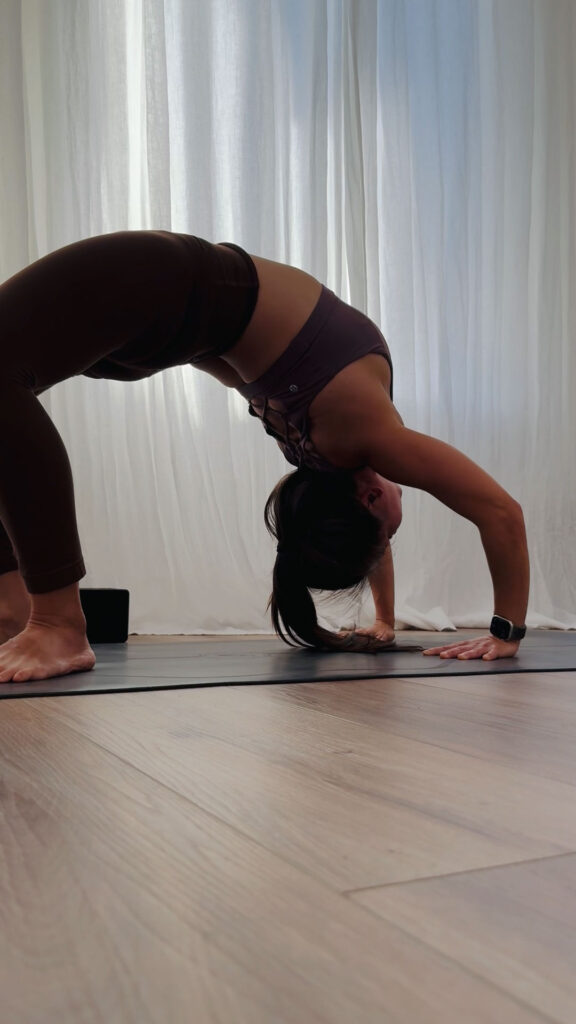
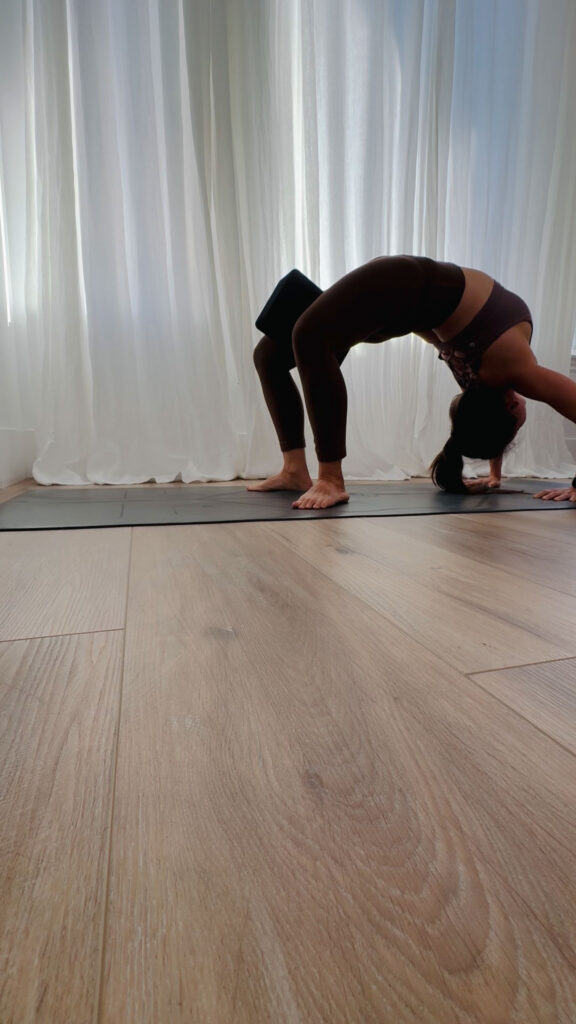
Social Media and Wheel Pose
On social media, theres plenty of advice o how to fix alignment or to hack wheel pose, such as:
Turn your hands out until the middle finger is pointing to the side of the mat. The teacher believes that the traditional wheel pose as outline by Iyegar is wrong, and this is the only way it should be taught. Some want you to lift up your heels so you get more height. Or if you want to straighten your elbows, turn out your hands.
These recommendations are certainly worth a try as long as long as you do them safely. Yoga is about exploration and it’s always a good idea to see how you can play with a pose to see how it feels. But if you’re doing these modifications for looks or it feels easier, this might defeat the purpose of the pose. Some of the modifications fail to work on what your body needs to strengthen your wheel pose. For some, if your wrists are not allowing you to push up, then they need to get stronger and more flexible. This can mean doing more chaturangas, crow, and planks. If your elbows are bent, that means the shoulders need to open up and get stronger, so incorporate dolphins in your practice and work your way up from gentler backbends.
These comments also focus on aesthetic. Bent elbows don’t always mean that you’re doing wheel wrong. It just means that this is where your body is right now and in time, with consistent practice, you’ll find more space to straighten.
Before and After
Last, when some people share their before and after wheel pose photos, you’ll most likely find a few comments reminding everyone that we are all built differently and that for some people, no amount of practice can make someone look like the image. Although I understand this sentiment, it doesn’t take away from someone’s journey. To be honest, I have practiced with yogis for years and have seen their backbends look from struggling to bendy overtime. But since I have practiced with these people for years and know how they started, these before and afters for me are inspiring. I guess the lesson here is to not count yourself out too soon. If you already start your wheel journey with the mindset that you’re never going to achieve a certain openness, then you probably won’t try.
My Wheel Pose
The people I told you about, those who transitioned from struggling to bendy, I clearly was not one of them. I still remember the first time I took a yoga class. In my early twenties and feeling strong, the teacher cued wheel pose. I couldn’t even get my head off the ground. If you have tight shoulders and thoracic spine, you know how this feels. Backbends, especially wheel pose, have always been my biggest challenge in yoga. Deep backbends made me nervous because my arms felt stuck and everything felt heavy and compressed.
Slowly, I worked my way to feeling more secure in my wheel pose. In my tenth year of practicing yoga, I was able to do tricks such as drop back to wheel and come up, but it didn’t feel good. I would lift my heels to feel higher off the ground and follow advice on how to make my backbends look more like the ones I see in photos. What I have realized now is that these ways to get to a pose didn’t help me much. I relied too much on how my backbends looked, instead of how they felt.
I should have worked on the basic foundation and alignment instead. Building the foundation for wheel pose takes time, patience, and belief in the process. That’s what the people I admire in class did. They didn’t go for the hacks.
Journey to Wheel
What I’m trying to say is that my wheel pose may still not look effortless and open after more than twenty years of practice, but the way I feel in it has continued to evolve. Nothing hurts. This started happening when I focused on alignment and practiced it consistently around seven years ago. My whole body energizes. My body is working. I know that if I keep on doing this, I will find another level in this pose and access a deeper part in my backbend.
Here I share the modifications that allowed me to feel joy in wheel pose and to not get nervous in the pose.
The goal is to try phase one and when you feel that your body is ready for the next phase, you can move on. You know your body is ready when the pose starts to feel light, when you know you have reached an area of comfort in the shape.
Phase 1
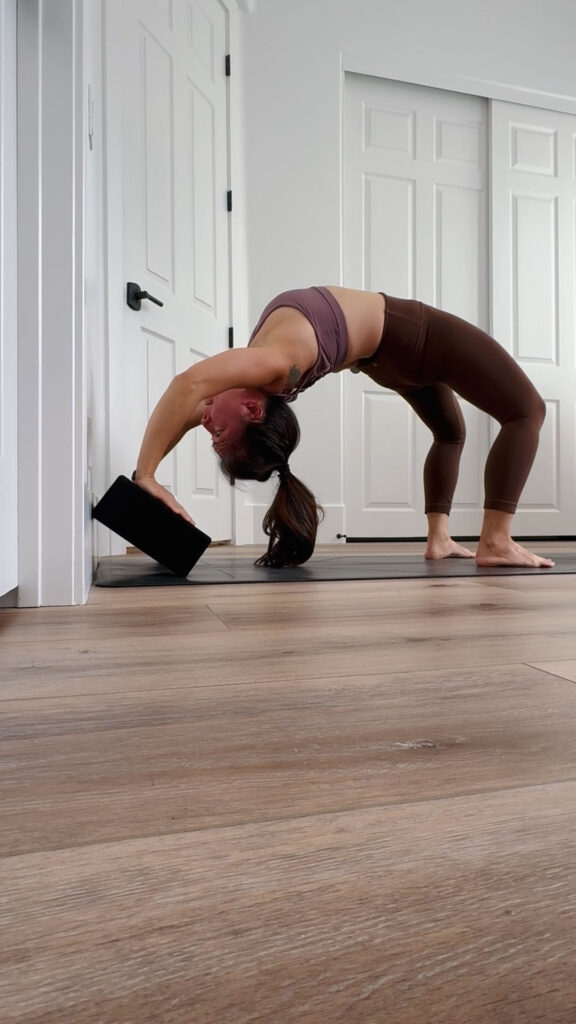
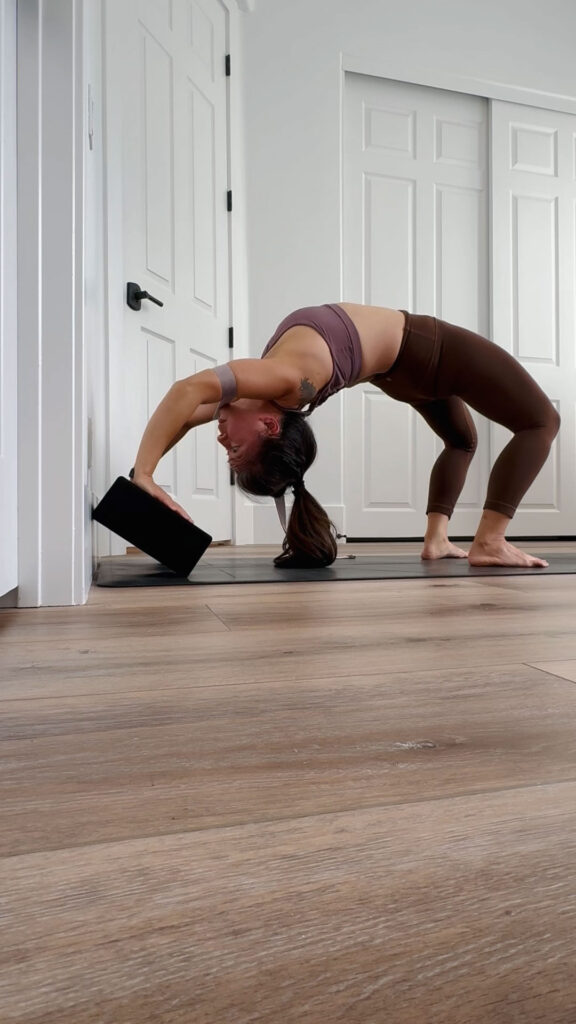
Wall: Lean two blocks against the wall diagonally. The added height means that your wrists don’t have to bend as much to lift yourself up. This technically lengthens your arms, which gives your shoulders more range. This is a great way to start feeling the push you need to do to lift up. This is a more purposeful option than lifting up the heels. Make sure the feet are parallel to each other.
Additionally, you can use a strap. Make a loop shoulder-width apart. Place the strap above the elbow, and lift up to wheel with the blocks on the wall. This prevents the elbows from splaying out.
Phase 2
Head on Floor: For this stage, we move away from the wall. Place a block in between the thighs and squeeze. Preventing the knees from splaying out ensures that we’re not just using our lower back to get the bend. Place the hands next to the head with the fingers facing the shoulders and elbows parallel to each other. Inhale and lift up to the top of the head squeezing the block. You can add the strap if you want.
Phase 3
Lift: Full wheel pose with the block in between the thighs. Set up as you would in Phase 2. This time, on an inhale, lift the head off the floor.
Mindset
- Don’t compare yourself to people online. They have their own journey and body. You have yours.
- Feel the pose and forget about how it looks.
- Know that wheel pose requires strength from you and that it should’t hurt. There might be shaking and there will be tightness, but never pain.
You want to be warmed up for the pose and make sure to incorporate poses that prepare your body for full wheel. The pose is usually initiated towards the end of the practice, when you’ve stretched out your quads, shoulders, and have done a few gentler backbends and twists. These include cobra, upward facing dog, dancer’s pose, bow pose, king pigeon, and side angle twist.
Let’s Do More Wheel Pose
I’ve noticed that some yoga studios in my area, particularly franchise ones, have stopped cuing wheel pose or upward facing bow. I get it. As studios try to cater to the general public, wheel pose can seem daunting for some. Instead of wheel, these studios usually cue bridge pose, which is more accessible and deemed safer.
This is not surprising. There are trends when it comes to teaching yoga. Previously, the cue for most forward folds, for example, was to straighten the legs, but now we are encouraged to put a slight bend on the knee. News travel fast in yoga communities. If someone shares a story about an injury, or has some anatomical information, cues and logic change. This is fine. But of course, yoga is a personal practice in the end. Much like trends in yoga teaching and the cues, our bodies change over time. Something you did in your 20s, might not work so well in your 70s.
I hope more yoga teachers cue wheel pose and for practitioners to include it in their practice. I want to remind you that wheel pose is a journey for most. Don’t focus on the looks.
What is Wheel Pose | Urdhva Dhanurasana ?
Wheel pose is an intense lengthening of the front line of the body, the chest, abdomen, hips, and quads. The legs, arms, and shoulders will work together to lift up your hips, shoulders, and head off the ground, in order to open up the chest and bend the upper back. It requires strength and also flexibility. I like to think of it as using my strength, to open up parts of me that feel tight. I love the idea of one part of my body, helping other parts find space.
The push in wheel pose happens not just up, but forward. Think of pushing your chest forward, past your hands. The lower-back has a natural curve and this is not what you’re working on. Your working on the thoracic spine or upper spine to open.
Cue
Start on your back, feet on the floor, parallel to each other and as close to your hips as you can have them. Place the hands, next to the head, fingers facing the shoulders, elbows pointing forward. Knees and elbows should not splay out. Inhale and push the floor away from you with the feet and hands and place the crown of the head on the floor. Get comfortable here, exhale. Adjust the hands if you need to by walking them closer to the shoulders. Just make sure you still have the elbows facing forward. Inhale, push the top of the head off the mat and drive the chest forward. Hold.

