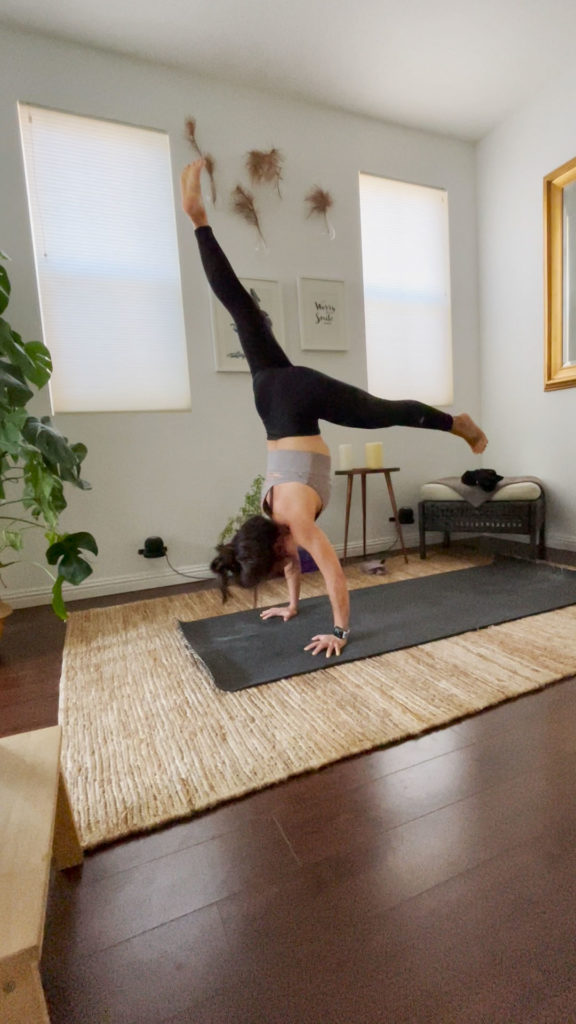
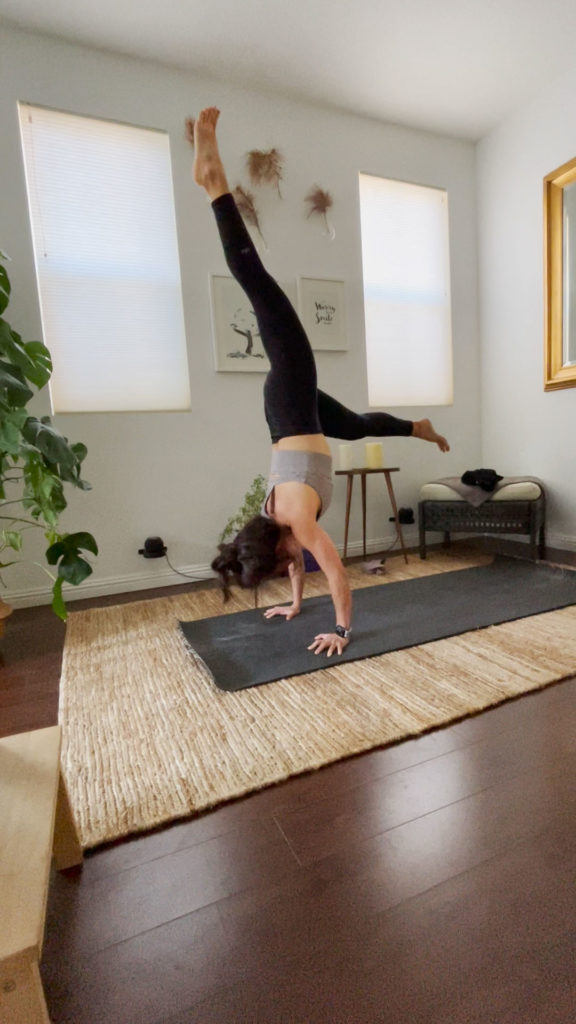
I have my inversion inspirations, such as Kino MacGregor and Patrick Beach. They awe and inspire me. I listen to their tutorials intently.
But sometimes, regularly observing those who have reached a certain level of handstand balance can feel daunting. They inspire and inform and I’m grateful for their wisdom. But at times, it can feel unreachable.
I’ve been practicing yoga for 20 years. But that doesn’t matter, really. I committed to learning how to balance on my hands after 17 years of practice. Here, I reflect on what took me so long to commit, the changes that made me start a handstand journey, and the lessons I’ve learned along the way.
Although I might never get to do half of what my inspirations do, I still feel the pose. I see progress. I have fun. I learn, each time I attempt a handstand, about the pose, about myself
My hope is that this will inspire you to start your own journey, or to stay committed if you have already started the process.
12 Lessons
Commitment
I consider these the two reasons why I only committed to learning a handstand after 17 years of practice. First, most classes taught in commercial yoga studios stay away from teaching handstands in a class, unless it’s a workshop. Understandable– I’ve attended advance classes that try to incorporate handstands, and it discourages quite a few people. The class usually ends up with some people gracefully floating and balancing on their hands. The rest would turn their mats to face the wall desperately trying to get up, while the rest opt to skip the handstand drills.
Second, a part of me didn’t think I could get there. By “there”, I refer to the graceful entries and alignment I see on social media and in yoga studios. I failed to see the middle ground or the process.
What changed?
When I started approaching handstand as a journey, not just a pose, my commitment level changed. I lowered my expectations in terms of how I wanted the pose to look. Instead, I channeled my expectations to my commitment. I committed to take it easy and enjoy the process.
I also started a home practice.
Forget Handstand
For the first 2 1/2 years of my journey, I didn’t attempt a full handstand (legs together). Instead, I dedicated my handstand inversions to L-shape handstands, learning to kick with the right and left leg.
Build strength
Aside from forgetting the pose, I focused on building strength. Handstand requires every part of your body to work. Here are the poses I practiced to build strength. When you build strength, you also build confidence.
- plank and pushups: core, arms, shoulders, and wrist flexibility
- dolphin, wheel pose, and wild thing: shoulders. In Kino and Kerri Verna’s (@beachyogagirl) Alo Moves handstand tutorial, Kino talks about learning to fall by going into wheel pose. Aside from building strength, trusting my backbend gave me confidence. Note that there are many ways teachers recommend you fall out of a handstand, such as cartwheel.
- crow: worked on straightening the arms
- tolasana and lolasana and L-sit: core and thighs
- standing splits: legs and also feeling of upside down
For the first 2 1/2 years of my journey, I didn’t attempt a full handstand (legs together). Instead, I dedicated my handstand inversions to L-shape handstands, learning to kick with the right and left leg.
Learn to Use the Wall with Caution
It’s not about if you use a wall, but how you use it and when. However, you have to dedicate practices without one.
I used to be so afraid to practice without a wall for fear of falling. However, the first time I practiced without a wall, fear prevented me from even going up. That’s a good thing! This forced me to control my movements and not rely on momentum.
The Beginning: Year 1 & No Wall at All
I started my journey with L-shape handstands without a wall. For the first few months I couldn’t even get any air time. Later, I would probably hold an L-hop for 2 seconds after 30 tries. Eventually, I could hold it for a bit longer, but always inconsistent. I had to be really warmed up to do it.
Year 2 & 3: Wisdom of the Wall
I practiced about 18 inches from the wall for a year consistently. Note: I never touched my feet to the wall. But mentally, it helped knowing it was there. The wall made me realize the two reasons why I couldn’t hold an L-hop longer or that it took so many tries to even get the feeling of my hips over my shoulders.
First, the feeling of having the hips over my shoulders scared me. I realized I bailed out when I reached the sweet spot. Second, I didn’t have the arm strength yet. The wall helped me become comfortable with the swaying, searching for balance, attempting to straighten my arms and push the floor. The wall gave me the confidence to lean a bit more to find balance, but not too much that I relied on the wall for support.
I alternate between practicing with a wall and without.
In my 3 year journey, I have fallen once and touched the wall 3x. Maybe falling more times would have allowed me to practice my falls more, but I’m also glad that I worked on control.
Find Your Breath
I’ve gotten inconsistent instructions on how to breathe when I step into a handstand. Do you inhale or exhale as you kick up? One of my favorite handstand workshops started with students figuring out the breath that worked for them. For me, that’s the bottom of the exhale. It might be different for you. But having a consistent breath pattern when you lift up helps. Find it.
It’s not about if you use a wall, but how you use it and when. However, you have to dedicate practices without one.
Inversion levels
I had a solid headstand and could pike up to it when I started my journey. It helps learning the various balancing poses yoga offers. While working on my L-shaped handstand, I also worked on an L-shaped forearm stand and the full forearm stand pose. This helped me get comfortable being upside down in general.
The Practice: Studio, Home, How Often?
A combination of practicing on my own and participating in a lead class (in studio or streaming) benefitted me. Here’s how:
Guided in-person or streaming: forces me to shift my pace, explore poses, and not get too caught up with my routine and ways.
Own practice: helps build an understanding of what my body needs. I design sequences specifically for my goals and needs.
How often do I practice? 4 times a week on average. At home, 30-45 minutes. Led classes are usually 30 minutes to an hour. Since the pandemic, I take classes via AloMoves.
Other movement activities: I play tennis. I find that I start off tighter in my yoga after playing, but with constant practice, I open up again. I feel that working on the tightness actually builds strength and in the end, has even helped with flexibility.
Explore Entries and Change It Up
You will have a weaker kicking leg, practice both. There’s always a leg you’ll prefer to kick with first, change it up. Try kicking from down dog, or for more control, step the kicking leg closer to the hands. Try switching legs when you’re holding your L-hop. Try tucking the kicking leg when you’re balancing on an L-shaped inversion. Patrick Beach offers various, thoughtful, and creative ways to enter inversions.
In many ways, the strategy of changing it up results from forgetting the pose. When the pose becomes the goal, it’s easy to get comfortable with one form of entry and just try to hold it. But you miss out on the learning process. Changing the entry to your handstand might mean not being able to hold it in the beginning again. Don’t think of this as a step back, but a part of learning. It pays off.
Taking Videos
I recorded myself 6 times in 3 years. All of the videos helped with alignment and to see progress. The videos provide a source of motivation. But I didn’t want filming to be a distraction. I practice for myself and not for other people.
In terms of alignment, when I first recorded myself after 6 months of L-shape handstand, I realized that although it felt like it, my hips were not even close to being over the shoulders most of the time. The videos gave me an understanding of how much more I needed to move my hips forward. Also, I saw how bent and splayed out my elbows were. This explained why I felt like my face was going to crash on the ground! I knew that I lacked the strength, and that’s what I worked on.
Taking It to the Next Level
Be patient and listen to your body. When I first started doing yoga, there were classes where we would just start kicking up to a handstand against a wall and crash and try to balance. It didn’t feel good. This can also lead to frustration. With commitment and patience, you will know when you’re ready to take it to the next level.
Be Inspired. Don’t Compare
I used to practice next to a yogi in Ashtanga class who just started yoga. In 6 months, she started jumping back and through her vinyasa with ease. Don’t compare your practice–not to the person practicing next to you or yoga influencers. Be inspired, but don’t compare. Learn at your own pace.
Watching Videos
Practice more, watch less. To quote, K. Pattabhi Jois, 1% theory 99% practice. The tips and cues and optics help, but nothing beats practice.


